By 2000, we had completed most of the remodel of the rooms inside the house. When we had started to do the remodel one of the original goals had been to fix the pool area. It had numerous problems.
Most obvious was that all of the concrete block planters in the pool area had cracked and/or were leaning. The decking around the pool had some serious cracks including at one corner of the pool it had come completely detached and lifted from the pool leaving a large gaping gap that you could put your entire arm in. A previous owner had added buttresses to the backside of the pool wall and though it had a noticeable lean it seemed to have been stabilized. The pool was over one story below the house and access was out the downstairs back door across the veranda and down the set of stairs at the far west end. This is quite a journey to make when you are wet after a swim and you would be very cold by the time you got inside the house.
By 2003, we had almost totally quit swimming in the pool. The pool was on the north side of house and had an eleven foot deep end. Also, it picked up the almost constant breeze off the ocean, so it was cooled by evaporation. We added a pool cover to help warm it and also slow down the evaporation, but it only received enough direct sunlight in the months of July and August to bring the water temperature up to the mid-70’s. There was a pool heater and we did try to heat it 80 degrees for a summer weekend. The heater ran for several days non-stop and the gas bill that month was several hundred dollars. We looked at adding a solar water heater, but since everything on the hill faced north, it wouldn’t receive enough sunlight unless elevated and we would look directly down on it from inside the house. I did occasionally swim in the pool alone at night and watch the SeaWorld fireworks, but after hearing about William Shatner’s wife dying while swimming alone in the pool and not being found for several days, I decided this wasn’t a good idea.
 |
| Tower Concept |
Of course, the worst problem was that the pool area was ugly, scary looking and noisy. Since the retaining wall that separated the pool from the house faced directly towards the freeway, the noise would echo off the wall and into the pool area. So even though you couldn’t see the freeway from the pool you could hear it. As a side story, the neighbors told us that when the pool was built in 1970 it was supposed to be much higher on the hill and closer to the house. However, it was installed while the owners were away and they had to dig much lower on the hill to find stable ground. Additionally, the fill dirt that was used around the pool was heavy clay that expanded and shrank with the rainy season which caused much of the cracking of the pool decking around the pool. When the city observed the clear cut on the hill they required that a 15 foot tall by 100 foot long retaining wall be built to stabilize the hillside. The neighbors said it was very costly, however, we have all the receipts for the work and it cost a total of $3000…maybe that was a lot of money in 1970. We also later found out that the rebar used in the pool decking was in direct contact with the soil causing it to rust which caused more cracking.
 |
| Casita Concept |
We toyed with several ideas to make the pool area smaller and shallower and more attractive, but in the end decided we really didn’t want a pool and all the maintenance it required. The pool was on the only flat area of property…which I was coveting for gardening space. So the decision to fill it in was an easy one. We decided that it would make a lovely walled garden and could be an area similar to some of the gardens in Balboa Park.
We hired a landscape architect to put together a plan. However, after several iterations it was obvious that he didn’t understand our priorities and instead of hiding the freeway views and noise, his design ideas looked as though they would make them worse. We decided that what we really needed was someone that could design some good hardscape that matched the house style, creating a cohesive design. I didn’t need any help with plants or planting design and wanted to do that myself. So, we returned to the restoration architect, Marc Tarasuck, who had done the design for remodel of our house. We gave him simple instructions…hide all the freeway view and noise possible and create something that looked like it was built at the same time as the house. Marc had a bit more vision and ideas than we ever imagined and quickly came up with a concept that we had never considered. He proposed a 30 foot tower built against the existing retaining wall. The tower would be just outside the back door and contain a spiral staircase that led down to the former pool area. The roof of the tower would be tall enough to hide much of the freeway and hotel view from the existing kitchen balcony and dining room. Much of the pool area would be replaced by 13 X 13 outdoor room that we quickly dubbed the casita – Spanish for little house. Also against the pool wall would be a large fountain to further mask the freeway noise. The existing gate from the pool area to the garden would be replaced by a large Spanish-style arch. An new door would be added to the back of the pool wall to give additional access to the garden below. Most of the existing pool house, where the pool equipment had been, would become a storage shed. Additional storage would be added beneath the stairway. We would add a new balcony off the upstairs living room to take advantage of the bay view. An arched portico would be added under the balcony. All of the walls of the new construction would be extra thick to give the illusion of them being thick adobe.
As you can imagine, this was a lot to take in…but the artist rendering Marc drew was wonderful and it was hard to believe this could all be created out such and ugly pool area.
We decided to hire the same contractor that had done the earlier remodel on our house. A pleasant surprise was that compared to house remodel, the cost of the project was less than expected. This was because the project involved no drywall, paint, plumbing and only minor electrical work. Also, although we added a lot of outdoor entertaining space, since we didn’t add to the square footage of the house our property taxes remained the same.
 |
| Original Retaining wall with cracked planters |
 |
| Empty Pool |
 |
| Cracked planter were Washingtonia Palm had been |
Construction Begins
 |
| Pool Demolition |
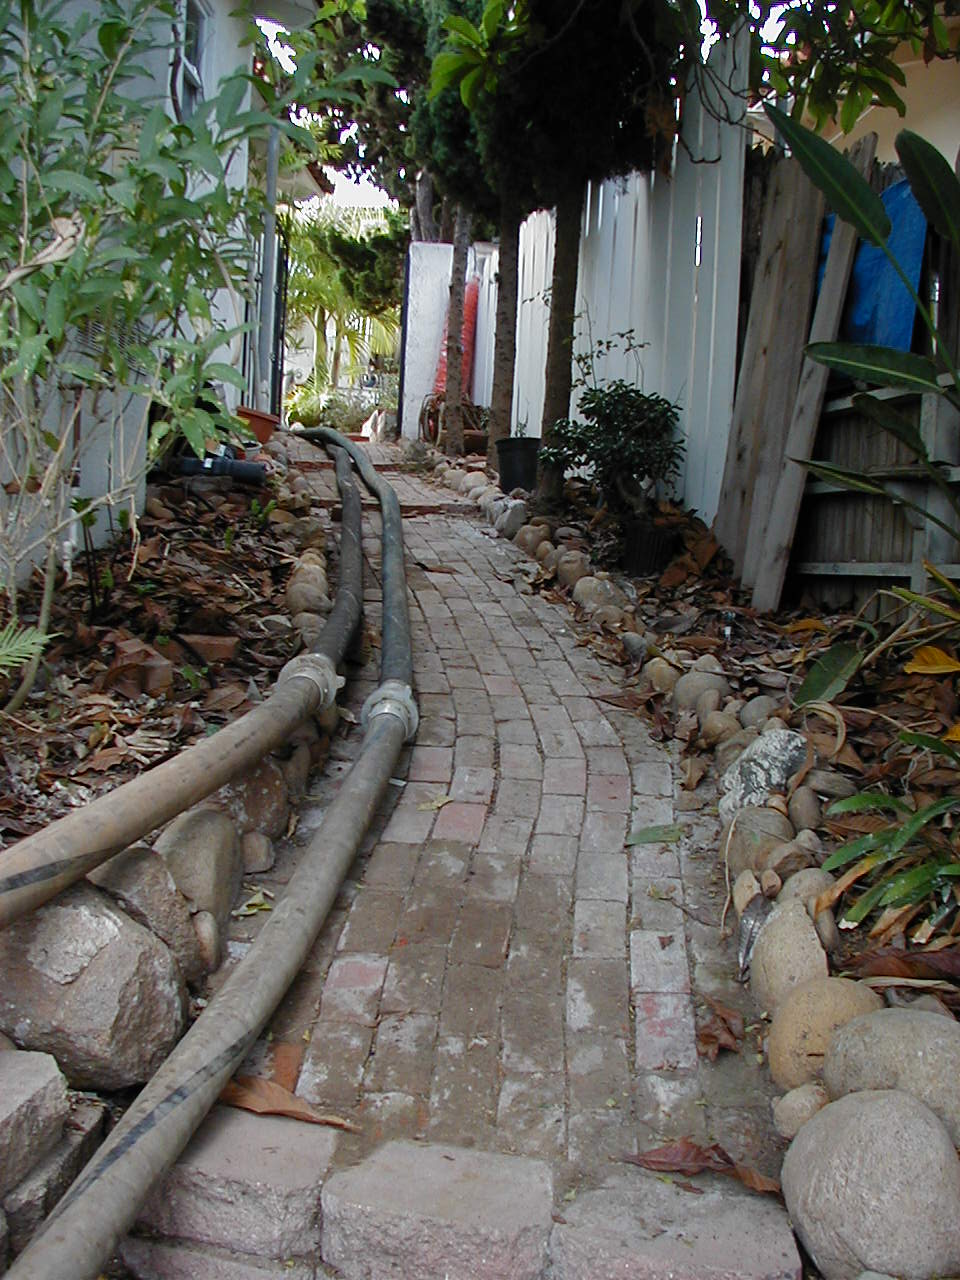
First up was filling in the pool. Scott rented a jackhammer and set out trying to remove the old pool decking. I collected the larger pieces and took them down the hill to construct rubble retaining walls and steps. However, the contractor said that we’d need as much material as possible to fill the pool and to start throwing everything into the pool. It turned out there were several older patios below the existing pool decking and eventually the contractor had to bring in more power tools and people to remove all of it.
 |
| Fill Dirt and Gravel being mixed before being blown into the pool |
Amazingly at the time, the city didn’t have any regulations or require a permit to fill in a swimming pool. So the contractor devised his own plan and we proceeded. They jackhammered several large holes in the bottom of the pool and then jackhammered away the top 3 feet of the pool. All of this material, the cracked concrete pool planters, plus any old concrete, tile building materials and maybe an old toilet and sink or 2 all went into the pool.
 |
| Fire hoses pumping soil and decomposed granite into the pool |
When the pool demolition was done, a large portable cement mixer was placed on the sidewalk in front of the house. Two fire hoses ran from there down the side yard and into the old pool. Trucks of decomposed granite and topsoil were dumped in the street and a small backhoe dumped it one scoop at a time into the cement mixer. After a slight mixing the dry material passed through the firehouses and was sprayed into the pool area 3 stories below. In the pool were 2 people with water hoses and 2 more with portable soil compactors. The men with the hoses wet the material as it entered the pool area. They were followed by the 2 men with the soil compactors. 8 hours later we had beautiful and level dirt pad.
I was home during the process to deal with any problems that might occur with the neighbors due to all the dust and noise. At one point the doorbell rang. It was the men that were delivering the fill materials. They wanted to know what to do with the 2 truckloads of gravel in the street. I said that I assumed it was to go into the pool. However, they said that it couldn’t go in the pool since the area needs to be compacted to 95% and the gravel can’t be compacted that tightly. So, I suggested they return it to the supplier. However, they said the supplier couldn’t reuse it since it had picked up dirt in the street and he wanted $3000 to dispose of it…or I could have it free. At first I thought no way, but they suggested that maybe I could use it for pathways on the hillside or something else. So they blew it down to the side of the pool area. It quickly filled the area with a pile over 6 feet deep and 9 feet wide and started going over the top of the pool wall. I’ll explain later what we did with all that gravel.
 |
| Lumber for construction |
Since the casita was a free standing structure with lots of open walls, it required steel posts and beams for construction. The building code for footings was that that the bottom of the footing had to be 7 feet from daylight from line drawn horizontally to the downhill slope side. So after filling in the pool, they dug four seven foot deep footings into the newly added fill. The hole needed for the footing for the new balcony off the living room was even deeper since the hill is very steep in that area. The next day the city came to inspect the footings…we passed inspection and no mention was made that just days ago there had been a swimming pool in this area.
 |
| Casita footings and steel frame |
The construction of the stair tower was next. Interestingly even though it was over 30 feet tall, it did not require a steel infrastructure or deep footings since it was back much further from the slope and would be tied to the retaining wall. It did however require lots of wood. More wood than we could have imagined. We felt very guilty about the amount of wood. Since the tower was octagonal and had a spiral staircase inside a special construction team was brought in to figure out all of the calculations needed to fit exactly into the spot. All the wood, spirals and angles were quite interesting and artistic to watch being constructed. We almost hated to see it all covered with stucco.
 |
Stair tower construction
 |
| Completed Stair Tower as viewed from the house |
|
After the undercoat of gray stucco, we had decided that we should tile some of the walls, arches and built-in benches before the final finish coat. I had a magazine with photos of a garden in Coronado that had an outdoor room that used mostly blue and yellow tile. I had also seen an exhibit on Talavera tile at the Metropolitan Art Museum in New Your City and had learned that blue, yellow, white and terracotta were some of the first colors of glazes that were used to create Talavera tile. Talavera was first made in Pueblo, Mexico, by Spaniards trying to copy the tiles of Spain. However, many of the artisans were Chinese who had arrived in Mexico via the Spanish Galleon trade that ran from the Philippines through central Mexico and then on to Spain. Along the way it also picked up some of the designs of the indigenous people in the area. So, the resulting Talavera designs are a unique mix of styles from many cultures.
I had already learned a little about Mexican tile from some of the work I had done in the house when we remodeled 2 of the bathrooms and knew that so much tile would be quite expensive if purchased in the U.S. So we borrowed a truck and drove to Tecate where we purchased much of the tile. I also knew a local tile importer and had used some of their tile on other projects in the house. I had mentioned to them they might be able to sell more tile if they expanded beyond Talavera into more traditional Spanish designs that were more appropriate to older homes in San Diego. They asked where they could get ideas for designs and I suggested Balboa Park. So based on tiles from Balboa Park they created a new line of tile named after the California Missions. I have some of their first tiles on the floor in the casita and the backsplash of the wall fountain.
Finishing Touches
 |
| Tile work in Casita |
Scott and I did most of the tile work ourselves. However, when we got the stair tower, the angles and different sizes of the stairs proved to be too difficult to figure out. So we hired an expert to lay the tile. They were a bit slow in completing the job and left their tile saw here one weekend. We had a large pile of red S-style roof tile left over that had originally been on the pool house roof. We had retiled the pool house with a different tile styled that matched the original construction of the house. I saw the tile and saw and thought why not cut the tiles in half and then lay them on top of the pool wall to protect it from the rain? The end result was the old leaning pool wall took on a much older and appealing look.
 |
| Scott and chimney tile |
As construction proceeded several changes were made along the way. Arched alcoves were added inside and outside the tower. While purchasing tile in Mexico, I found a concrete statue of San Miguel. The stairway in our house has a stained glass window of San Miguel, so we sort of considered him to be the patron saint of the house. I would add tile and paint the ceiling with gold stars in the alcove in the stair tower, copying a shrine I had seen in an old church. San Miguel was added to the arch on a small platform and a pot for the plant tags of the all of the plants in the garden that had died . We christened it the Shrine to the Dead Plant.
The large gated archway that replaced the side gate couldn’t be constructed in the purposed size due to an existing Monterey Pine in the way. The arch was built slightly smaller and a notch was made in the roof to go around the tree. (Eventually the tree was removed due to all of the pine needle drop as well as several disease problems the tree had.) All the white stucco looked too bleak and so we painted the old retaining wall and pool wall a golden yellow color. The actual name of the color was peanut butter. A yellow color, cornbread, wainscot with a blue stripe, blueberry, at the top was added to inside the tower and casita. We had the thick wood rafters sandblasted and stained them in keeping with the food names for colors – cappuccino.
 |
Casita fountain construction and flooding
 |
| Completed Fountain |
|
Towards the end of construction, we had a big rain storm. All of the water from the house and patios above it previously had run down the retaining wall across the pool decking and through drainage holes in the sides of the pool wall. However, without the pool decking, the soil line was now well below the drainage holes and we ended up with the casita sitting in a small shallow lake. We decided the solution was to put 2 new drainage holes below the new soil level and construct French drains in the area to collect the water and pass them through the new holes under the pool wall. To save money, we did the work ourselves…so Scott rented a jackhammer again and started digging. We were very surprised to find out that the footing for the leaning pool wall was 4 feet wide.
As I had mentioned in earlier article, I had seen are article about Keystone Country Manor retaining wall blocks in Sunset Magazine and had contacted RCP about purchasing some. They were in the process of making their first batched but didn’t want to sell them to me until they had fully cured. However, I persisted and we bought several pallets of blocks. We did break a few by throwing them over the retaining wall into the pool area. I had already decided that I wanted to build raised beds in the new garden area. The raised beds would be much easier to work in, show off the plantings better and provide additional seating. We still had yards of dirt that we had thrown down the side of the hill when we dug the bathroom area out under the house several years earlier. So we hauled all of this dirt back into the former pool area. We still needed more dirt so we dug down several feet for the new pathways in the area. We then placed drainage pipes for French drains at the bottom and filled the walkways with several feet of the gravel that had been left over from when the pool was filled in. Still we weren’t able to get enough elevation change for the water to run into one of the new pool wall drains. There were windows in the pool wall in this area where you used to be able to watch the Sea World fireworks while in the pool. However, this no longer was possible since the raised beds made the windows too low and top of the wall was now at eye height. So we dug a sunken patio in the area with a seat wall around the outside. Next to the patio, we dug a hole and put the old bathtub that was left over from when had remodeled the upstairs bathroom.
As we dug near the retaining wall, we hit concrete several inches down that extended 7 feet into the garden. This would not work for growing plants. I called the contractor to complain that all of the pool decking had not been removed. He explained that this was the footing for the 15 foot tall retaining wall and could not be removed since it supported the wall. So we purchased a truckload of topsoil and raised the area another 3 feet.
 |
Keystone walls, bathtub fountain and sunken patio area
 |
| The Mature Garden in 2015 |
|
We had problems finding someone to do the ironwork for the handrail in the stair tower, 2 of the arches in the casita and the side gate. We hired someone, paid them a deposit and never heard back from them. When we called their phone number it was disconnected. I was interviewing someone else to complete the ironwork when the original ironworker showed up. Their shop had burned down, but they finished the ironwork in Mexico and where there to install it!
Finally we had to tackle the small wall at the top of the retaining wall. The original wall was an ornamental concrete block with a very 1950’s look. It also was too short with a drainage gutter running in front of it. We were always afraid someone would trip and fall over it into the pool area. We had the wall removed during the pool demolition. Luckily the Country Manor retaining wall blocks fit perfectly in the gutter space. 4 large pilasters were constructed at intervals along the wall and we hired the second ironworker to make an iron banister that ran between them. Atop the pilasters were placed 4 large blue pots filled with succulents.


Comments
Post a Comment